Private Label Soft Cooler Bags: From Design to Production

2026-09-01 0 Leave me a message
Deciding to run a private label programme is the easy part. Executing one well is a sequence of approvals — colour standards, artwork files, a pre-production sample, packaging proofs — where each unresolved detail becomes a decision the factory makes on your behalf. This guide walks the project from first brief to shipped goods, with particular attention to the parts brands consistently underestimate: getting brand colour to reproduce accurately on TPU and foam-backed private-label-soft-cooler-bags.htmlmaterials, supplying artwork a factory can actually use, and knowing exactly what a pre-production sample is supposed to prove. Sealock (YiFuLong Outdoor Gear Co., Ltd.) runs private label programmes on welded soft coolers from a 300-piece MOQ.


If you are still deciding whether private label is the right model at all, start with Private Label Cooler Backpacks: Launch Your Brand Without a Factory. This article assumes the decision is made and covers execution.

Stage 1: The Brief

A private label brief is narrower than an OEM tech pack but it still needs to be specific. What the factory needs from you at the outset:

  • The platform — which base model, in which size.
  • Specification choices within it — insulation tier and target cold-hold, closure type, seal level, shell material, capacity variants.
  • Colourway — stock colour or custom (this decision has the largest downstream impact; see below).
  • Branding — logo method, size, placement, and the artwork files.
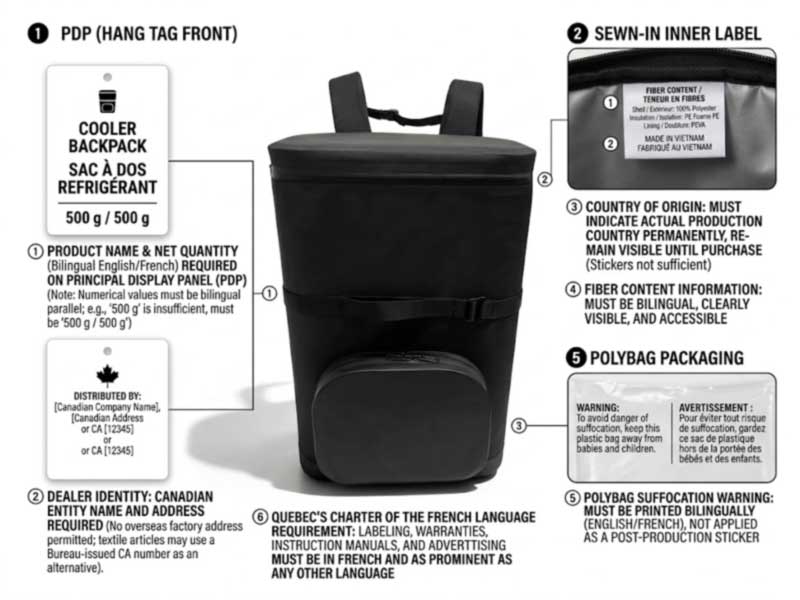
  • Packaging — polybag or retail box, hangtags, care and origin labels, barcode format.
  • Market and compliance — destination markets determine food-contact testing and labelling requirements.
  • Quantities and dates — per design, per size, per colourway, and your on-shelf date.
The one decision that changes the whole project: stock colour versus custom colour. A stock colourway skips the dye lot entirely — no lab dips, no colour approval cycle, no upstream fabric minimum, and a shorter timeline. A custom Pantone triggers all four. It is often the right choice for a brand that needs a distinctive look, but it should be made knowingly rather than casually. See Custom Cooler Backpack MOQ Explained for why the dye lot usually sets the real minimum.


Stage 2: Colour — Where Brands Lose the Most Time

Colour is the most common cause of revision loops in private label work, and the reason is that a screen is not a production standard. The correct process is objective rather than visual.

Specify from a physical standard, not a monitor

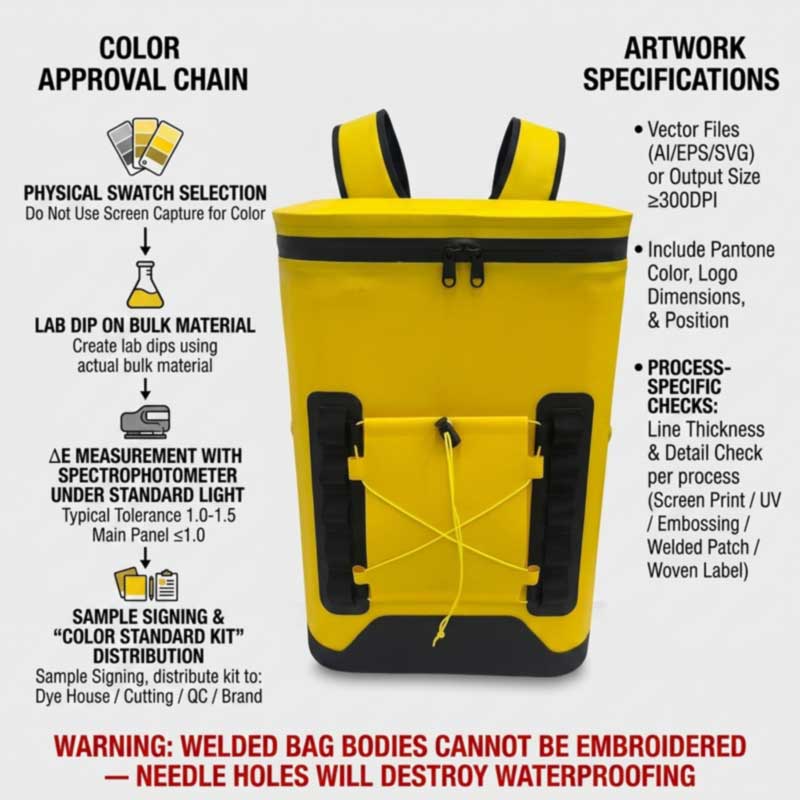
The industry rule is unambiguous: select the exact Pantone colour from a physical swatch book, never from a screen; communicate that code to your manufacturer; establish an acceptable colour tolerance using a Delta E value; and use a spectrophotometer under controlled lighting to verify every production batch against the approved standard. One bag manufacturer makes the same point about the limits of screen-based specification: screen colour alone is not a stable production standard, and if you have no Pantone reference, a physical brand colour sample or approved packaging sample can help.

The lab dip is the approval, not the Pantone chip

A lab dip is a swatch dyed to your standard on the actual material. The critical requirement: use the correct fabric — the actual fabric for the bulk order — because different fabrications dye differently, so if you see a sample in one material and the real thing is another, the colours will look different. For coolers this matters more than for apparel, because the same brand colour behaves differently on a TPU-laminated shell, a PVC tarpaulin, a woven label and a moulded buckle.

Agree a tolerance in numbers

"Close enough" is not a specification. Industry practice sets a measurable band: brands and factories often agree on an acceptable dE tolerance, usually between 1.0 and 1.5, for lab dip and bulk production approval — using a spectrophotometer to get a dE value removes subjectivity from the approval. Some manufacturers apply tighter tolerances on the most visible components, for example ΔE ≤ 1.0 on primary body panels, and best practice is to build a complete colour standard package: the signed physical lab dip swatch, the spectral reflectance data, a component-specific ΔE tolerance table, the approved light source specification, and the sampling protocol — distributed to every party that touches the colour, because a single outdated version in the chain creates divergence.

The payoff for this discipline is concrete: adhering to objective evaluation procedures with defined tolerances can reduce approval timelines substantially, and it prevents the endless loop created by subjective feedback like "make it less muddy."

Colour behaves differently on every component. A brand colour that is approved on the shell will not automatically match on a woven label, a printed logo, an injection-moulded buckle or a zipper tape — different substrates and processes reproduce colour differently, and some Pantone colours sit outside the achievable gamut of a given process altogether. Expect to approve colour per component, and decide in advance which components must match exactly and which may sit within a wider tolerance.


Stage 3: Artwork — What the Factory Actually Needs

Supplying the wrong artwork is the second-largest source of delay, and it is entirely avoidable. Requirements are standard across the industry: vector files are best because they maintain quality when scaled, and Adobe Illustrator is the standard tool; printers similarly specify vector formats (AI, EPS, SVG) or high-resolution raster files at 300 DPI or higher at actual print size. A logo pulled from a website will not reproduce cleanly at any size.

Beyond the file itself, the factory needs the parameters around it: final logo file, Pantone references, logo size and placement, and it should review logo size, colour count, line thickness, detail level and material fit before confirming the process. That review matters because branding method and artwork interact — screen printing, embroidery, heat transfer, woven labels, leather patches, metal plates and debossing each need different artwork checks. Fine lines that print beautifully may disappear in a weld-on patch or a deboss.

On a welded cooler there is an additional constraint worth knowing before you design: embroidery is not an option on the sealed body, because needle holes destroy the waterproofing. Welded TPU or silicone patches, screen print, deboss, UV print, or a woven label on a welded-on external tab are the methods that work. The full menu is in Custom Soft Cooler Backpacks: Materials, Sizes & Branding Options.

private label colour approval chain with lab dip and Delta E tolerance, and artwork file requirements for cooler bag branding

Stage 4: The Pre-Production Sample

This is the gate that protects your entire order, and it is worth understanding precisely what it is for. As one sourcing guide puts it: the pre-production sample is the minimum due diligence before committing production funds — a factory that resists this step either lacks confidence in its own setup or is hoping to lock you in before problems surface.

A PP sample must be built from bulk materials

This is the detail that separates a real PP sample from a pretty prototype: materials must be bulk fabric, not substitute; approved lab dip and strike-off, not "close enough"; trims, zippers, buttons, elastic and thread all the approved articles from the approved suppliers — a PP sample sewn in substitute fabric is a fit sample wearing a PP label.

Judge conformance, not preference

The review question is specific: the question is conformance, not preference — does it match the specification the factory was given? And record properly: record actuals, not pass or fail — a sample sitting at the edge of tolerance on four consecutive points is drifting, even though nothing failed.

Write the request as a technical document

A vague request produces a vague sample: a sample request that says "make it look like the photo" will produce a sample that looks about like the photo — your sample request needs to be a technical document, including dimensions with tolerances, material specification with exact grade, weight and colour code, construction method including weld spec, functional requirements such as load rating and IP rating, packaging spec including carton size and barcode format, and approval criteria defining what pass/fail looks like and which defects are critical.

What to test on a cooler PP sample specifically: fill it with water, seal it and invert it — check the base seam, corners, zipper ends and strap anchors. Load it with ice and time the cold-hold in conditions like your customers'. Load it to realistic weight and carry it. Check the welds for evenness. Then keep the approved sample: it becomes the gold sample every production unit is matched against at final inspection.


Stage 5: Packaging Approval

Packaging is a parallel workstream that brands routinely leave too late, and it has its own approval requirements. Practice from packaging suppliers is instructive: visual approval should compare the physical sample with the approved brief, brand guidelines and artwork file — photos are useful, but physical samples are better for colour, finish, material and hand-feel decisions, checking colour match under normal light and, where relevant, under store lighting; surface finish; and logo position, print sharpness and decoration consistency. Dimensional control matters too: measure production samples against master specifications using calibrated tools, and accept only tolerances you have negotiated.

And remember colour approved on one substrate does not transfer to another: colour approved on white coated board doesn't transfer to kraft or recycled without re-validation, and lamination changes colour perception, so a proof without the correct finish is approved under conditions that won't exist in market.

The compliance content of that artwork — country-of-origin marking, responsible party details, the correct barcode — must be finalised before the print run, not after. That detail is covered in the private label launch guide.

Stage 6: Production and Inspection

With colour, artwork, PP sample and packaging approved, production runs 30–45 days. What should happen during and after:

  • In-line weld inspection — essential on a cooler, because a weld defect is invisible once the bag is lined and assembled.
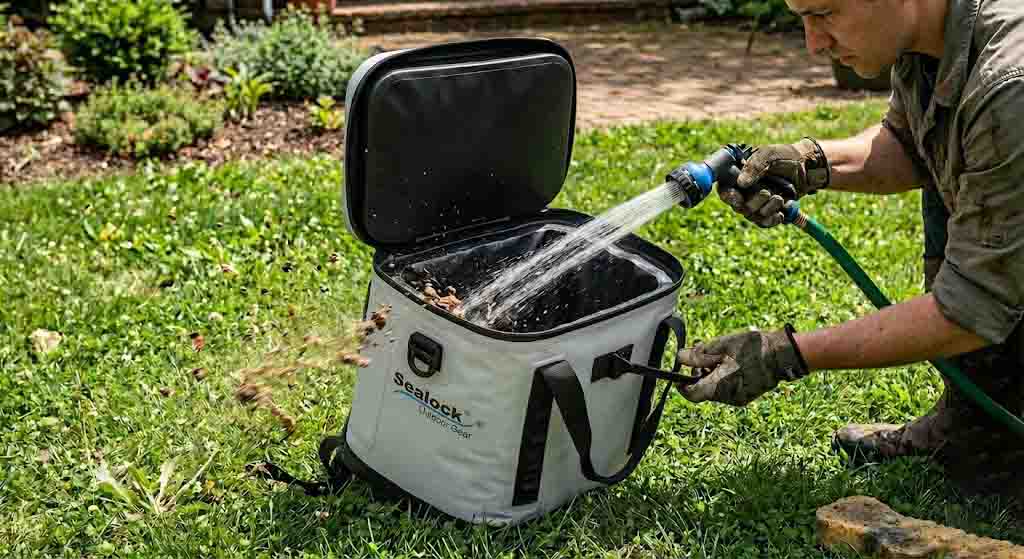
  • Immersion testing of finished bags, verifying body welds, closure and liner as one sealed envelope.
  • AQL sampling at OQC against defined acceptance criteria, compared to the signed gold sample.
  • Optional third-party inspection (SGS, QIMA) before the balance payment is released.

The mechanics of production itself are in How Soft Cooler Backpacks Are Manufactured.

The Approval Sequence at a Glance

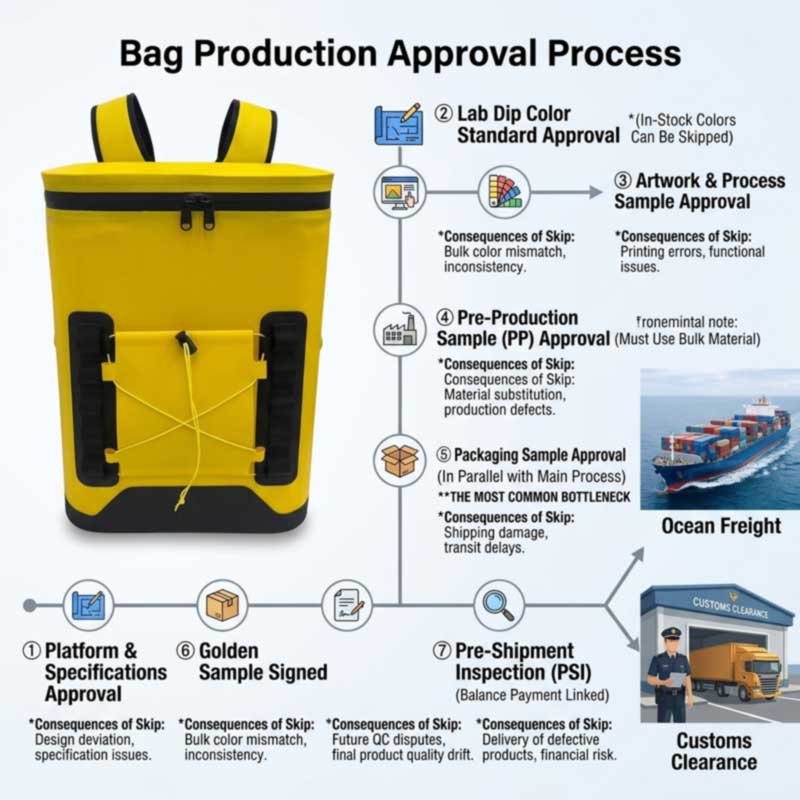
# Approval What it proves Skip it and…
1 Platform and specification The product is the right one for your market You brand a bag that does not suit the use
2 Lab dip / colour standard Brand colour reproduces on the real material Bulk arrives visibly off-brand
3 Artwork and branding proof The logo reproduces cleanly by the chosen method Fine detail disappears or prints blurred
4 Pre-production sample Bulk materials and construction meet spec You discover problems after paying for production
5 Packaging proof Artwork, finish and compliance content are right Reprint costs, or a rejected shipment
6 Gold sample sign-off The reference every unit is matched to No objective basis for a quality claim
7 Pre-shipment inspection The run matches what you approved You pay the balance on unseen goods

Realistic Timeline

Stage Typical duration Notes
Brief and platform selection Days Faster with a clear market and price point
Colour approval (custom only) Adds a cycle Stock colours skip this entirely
Sampling 7–15 days Plus revision rounds; a complete brief reduces them
Packaging artwork and proof Run in parallel Start early — it is the classic bottleneck
Production 30–45 days Book against the seasonal calendar
Inspection and shipping Several weeks Ocean freight plus customs clearance

Work backwards from your on-shelf date, and note that coolers are seasonal — a summer range needs to be committed well before the spring. See Soft Cooler Manufacturer in China: Complete OEM Guide for the production-calendar constraints.

seven approval gates in a private label soft cooler programme from colour standard to pre-shipment inspection

Platforms for a Private Label Programme

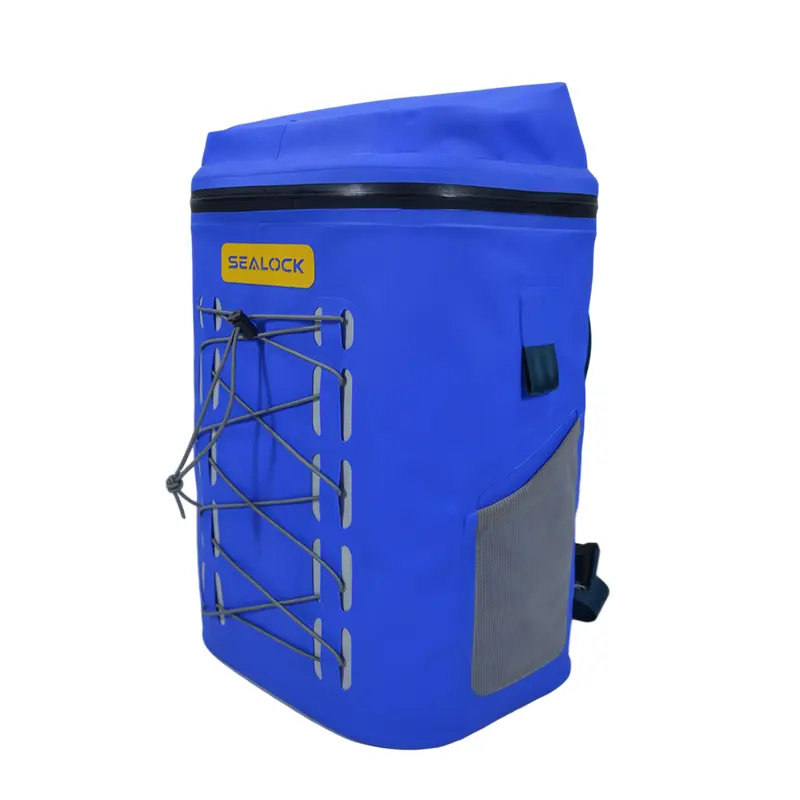
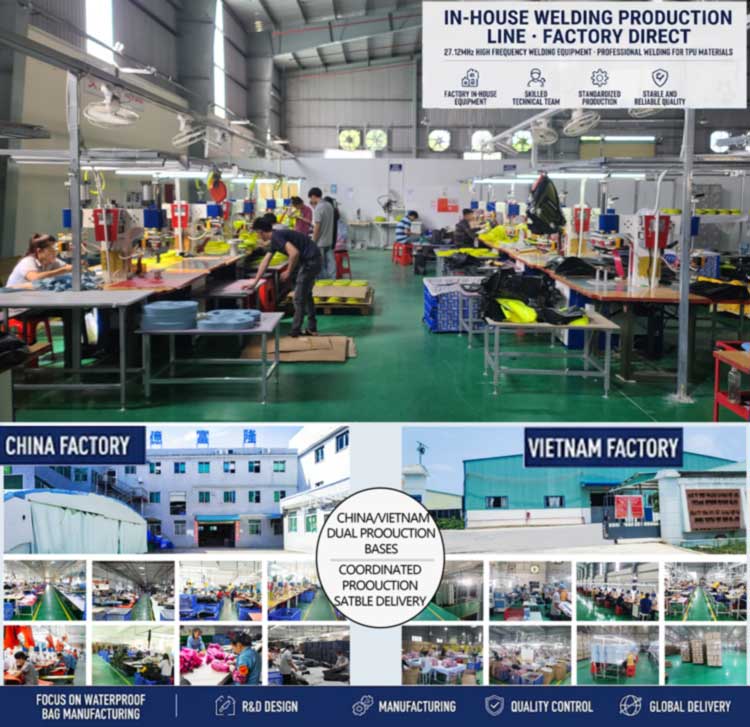
Sealock welds insulated soft coolers at 27.12 MHz across three factories in Dongguan, China and Ho Chi Minh City, Vietnam, with food-grade inner liners across the entire range. Real platforms, across form factors, chosen by fit rather than rank:

Image Model Form & spec Stock colours Link
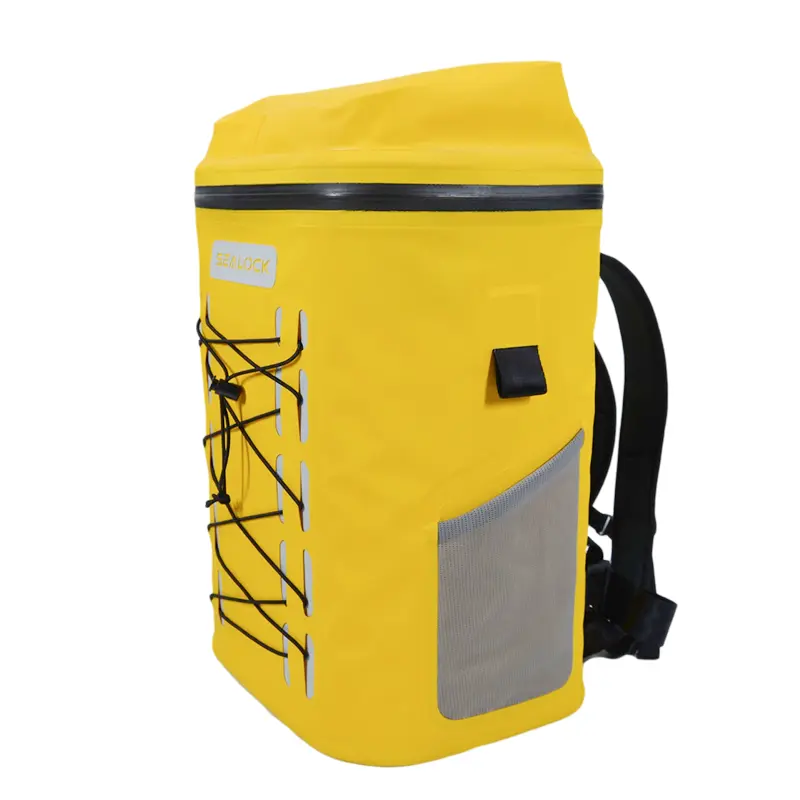
28L airtight-zipper insulated backpack cooler SL-I274 28L Airtight-Zipper Backpack Cooler (SL-I274) Backpack, 840D TPU, EVA core, airtight zipper, up to 48 hr Black, yellow, orange, blue View
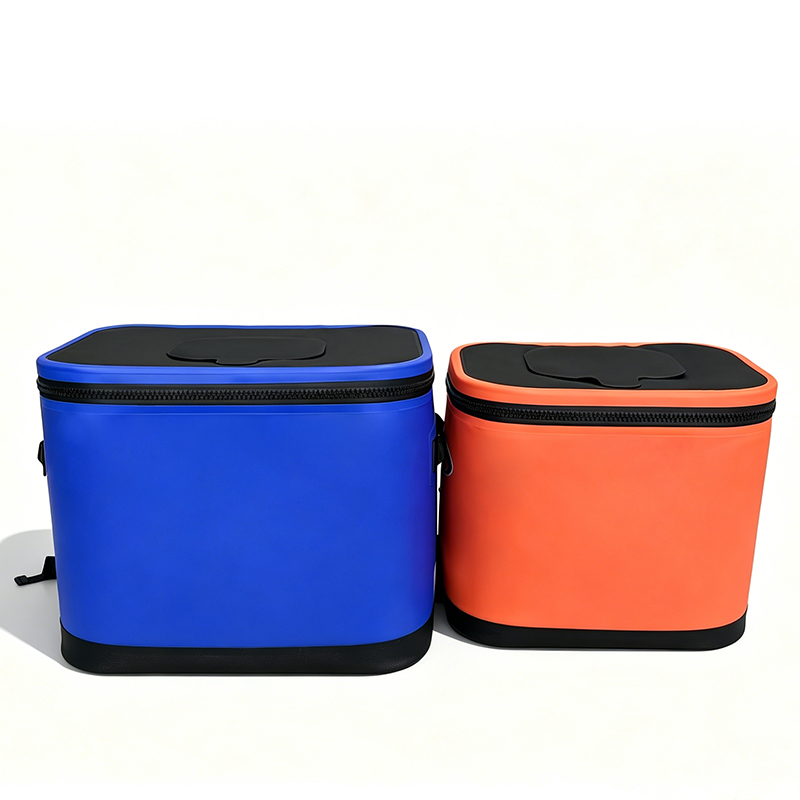
Insulated soft cooler backpack with molded lid SL-E050B Insulated Cooler Backpack, molded lid (SL-E050B) Backpack, closed-cell EPE, molded flip lid, two sizes, ~24 hr Orange, blue + custom View
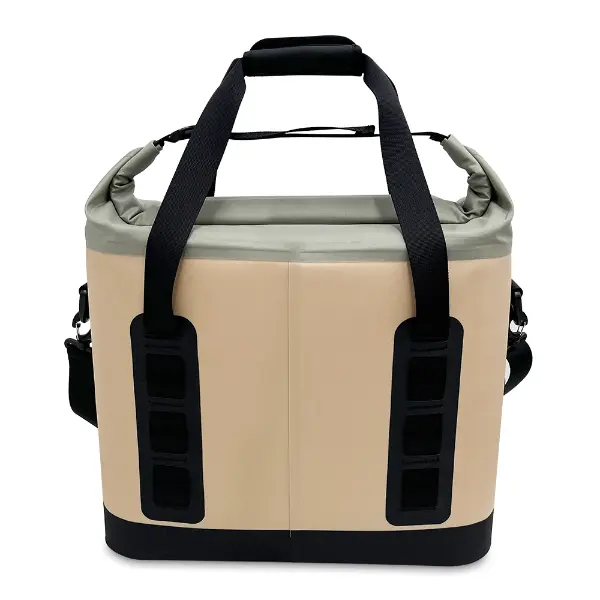
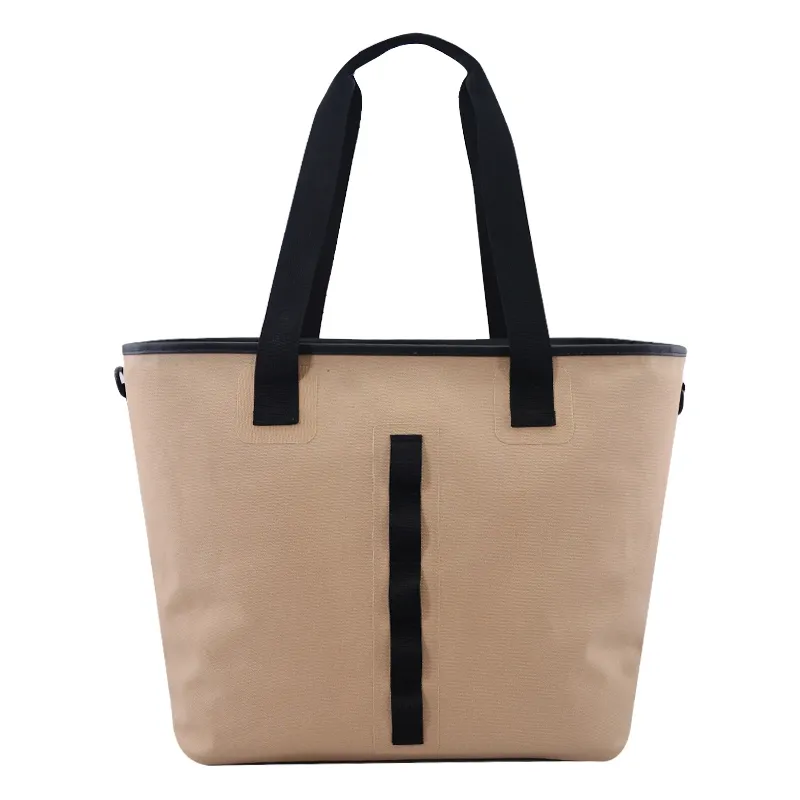
Roll-top leakproof soft cooler SL-I288 Roll-Top Leakproof Soft Cooler (SL-I288) Tote / shoulder, 20L, 840D TPU, welded roll-top, MOLLE, 48 hr Tan, grey + custom View
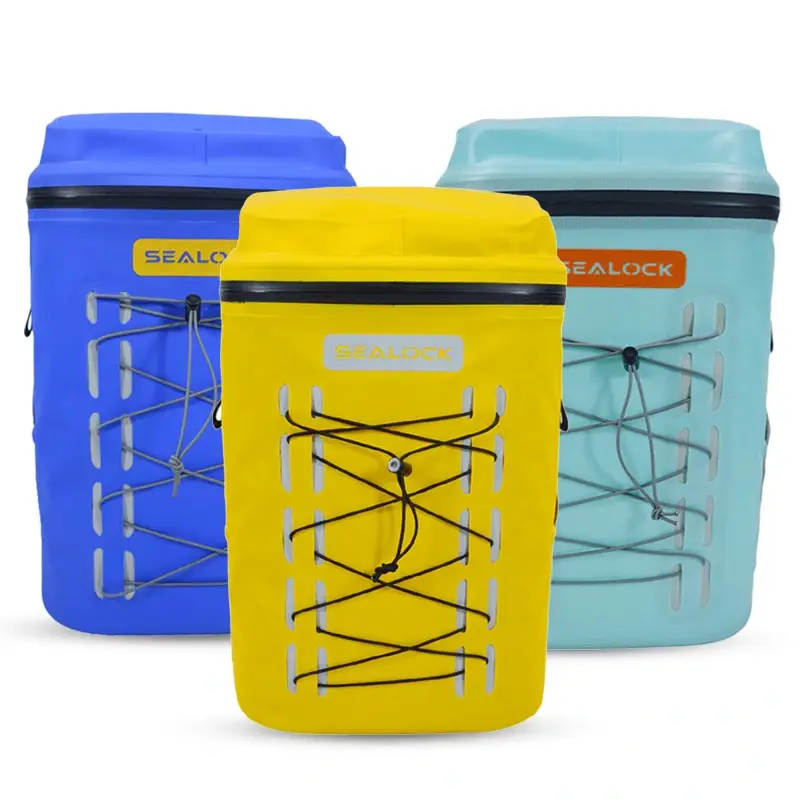
Insulated leakproof cooler backpack SL-I075A Insulated Leakproof Cooler Backpack (SL-I075A) Backpack, 840D PVC tarpaulin, EPE, PEVA liner, 36-can Blue, yellow, green View
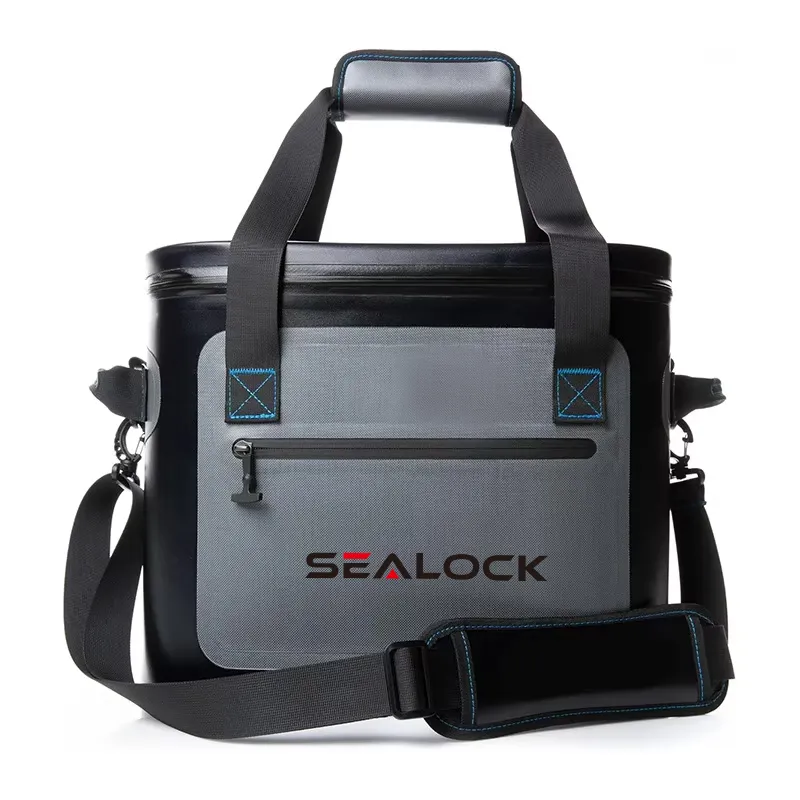
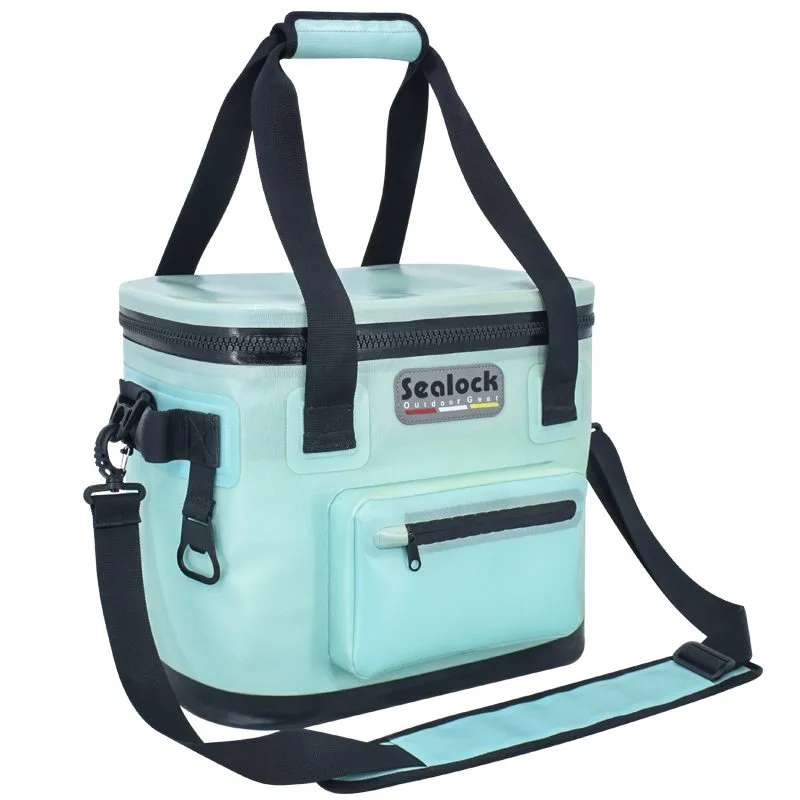
24L soft cooler tote SL-I230 24L Soft Cooler Tote (SL-I230) Tote, 840D TPU, 20 mm XPE, IPX7, HF welded Custom available View

Note the stock colour column — a first programme built on an existing colourway removes the dye lot from the critical path and shortens the project meaningfully.

Working Terms

MOQ 300 pcs per design, per size and colourway; negotiable on custom programmes
Sampling 7–15 days; ground-up development longer
Production 30–45 days; FOB Guangdong
Branding Welded TPU or silicone patch, screen print, deboss, UV print, woven label on welded tab; custom pulls, webbing, Pantone-matched shell
Packaging Hangtags, care and origin labels, polybag or retail box artwork
Validation Immersion and cold-hold testing; AQL sampling; gold-sample sign-off; SGS or QIMA available
Beyond private label Full ground-up OEM development available — demanding briefs welcome, including premium insulation up to VIP vacuum panels and aerogel and IPX6–IPX8 seal levels
Origin China or Vietnam on the same specification

FAQ: Private Label Soft Cooler Production

Q: How do I make sure my brand colour comes out right?

A: Specify from a physical Pantone swatch rather than a screen, request a lab dip dyed on the actual bulk material, agree a numeric Delta E tolerance — typically 1.0 to 1.5, tighter on main panels — and have it verified with a spectrophotometer under a defined light source. Then keep the signed swatch and the tolerance table as the standard everyone in the chain works from.

Q: Why does my logo look different on the label than on the bag?

A: Because substrate and process change how colour reproduces. The same brand colour behaves differently on a TPU shell, a woven label, a printed patch and a moulded buckle, and some Pantone colours fall outside what a given process can achieve. Approve colour per component and decide up front which must match exactly and which can sit in a wider tolerance.

Q: What artwork does the factory need?

A: Vector files (AI, EPS or SVG) or high-resolution raster at 300 DPI at actual print size, plus Pantone references, logo dimensions and placement. The factory should review size, colour count, line thickness and detail against the chosen branding method before confirming — fine lines that work in print may not survive a deboss or a welded patch.

Q: What exactly is a pre-production sample supposed to prove?

A: That the product can be made to specification using the actual bulk materials — approved fabric, approved lab dip, approved trims from approved suppliers. A sample built with substitutes proves nothing. Review it for conformance to specification rather than personal preference, and record actual measurements rather than a pass/fail, so you can see drift before it becomes a defect.

Q: How long does a private label programme take?

A: Roughly 7–15 days sampling plus revisions, then 30–45 days production, then ocean freight and clearance — realistically two to three months from approval, longer if a custom colour adds a lab dip cycle. Start packaging artwork in parallel; it is the most common bottleneck. Coolers are seasonal, so work backwards from your on-shelf date.

Q: Can I use my existing embroidered logo on a welded cooler?

A: Not on the sealed body — embroidery punches needle holes that destroy the waterproofing, and reputable welded-bag factories decline it there. Use a welded TPU or silicone patch, screen print, deboss, UV print, or a woven label on a welded-on external tab instead.

Running a private label programme? Sealock (YiFuLong Outdoor Gear Co., Ltd.) manufactures welded soft coolers under private label from 300 pcs per design, with colour standards, branding execution, packaging support and immersion-validated performance data. Send your platform, colourway and launch date, and the team will map the approval sequence against your calendar.

Email: info@sealock.com.hk  |  Phone: +86-13632981825  |  Browse the soft cooler range

Tolerances, file requirements and approval practices cited here reflect publicly available manufacturing and colour-management sources as of mid-2026 and vary by factory, material and process. Agree specific tolerances, approval criteria and timelines with your supplier in writing before production.

Related News
Leave me a message
X
We use cookies to offer you a better browsing experience, analyze site traffic and personalize content. By using this site, you agree to our use of cookies.Privacy Policy